CB Kearney
Career and Technical Education
CTE History and Legislation
Facts and Current Trends
CTE Resource List
CTE Advocacy Lesson Plan
CTE Blog Summary
eCommerce
CustomMade is our first foray into the world of eCommerce. So far it is looking like a positive move.
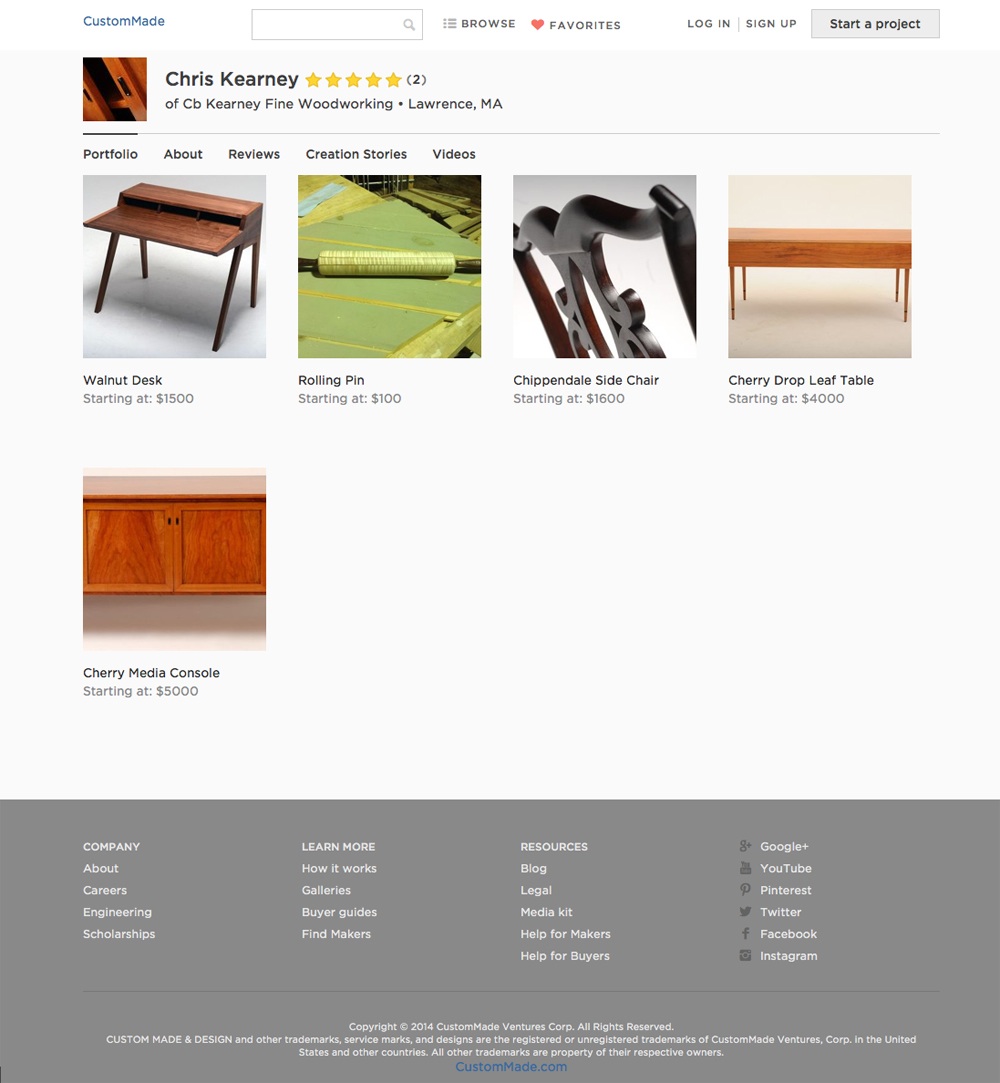
Look for us on more websites like this.
-CB-
A Good Sign
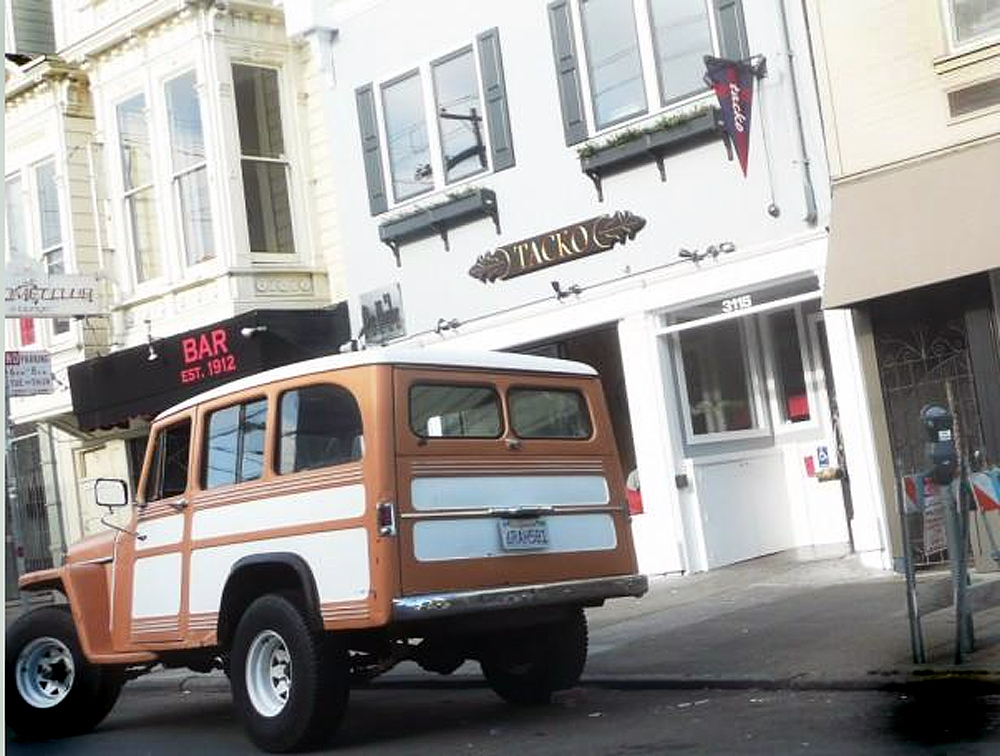
Tacko Restaurant, San Francisco
It is always fun when I get a chance to make something special for a friend.
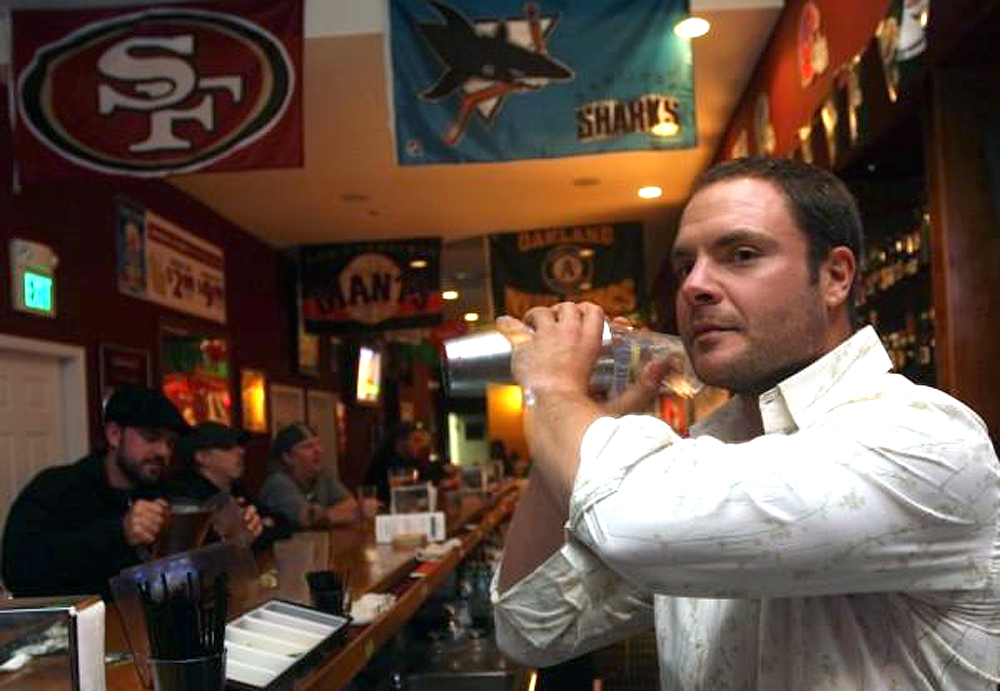
Nick tending bar at one of his restaurants, Underdogs.
A while back my childhood friend, my brother from another mother (We were born on the same day, same year.) Nick Fasanella called me to make a few things for his latest restaurant venture, Tacko. Tacko is a combination of Nick’s interest in boating and his love of tacos. Nick wanted a traditional boat name board for his latest taqueria’s sign, some New England style shutters and some other carved signs for the restaurant’s interior.
Since the sign and the shutters were going to be out in all kinds of San Francisco weather, I decided to Spanish cedar. Spanish cedar is also great for carving. The sign is nine feet long and fifteen inches tall, so I needed to glue up and rip the sign blank.
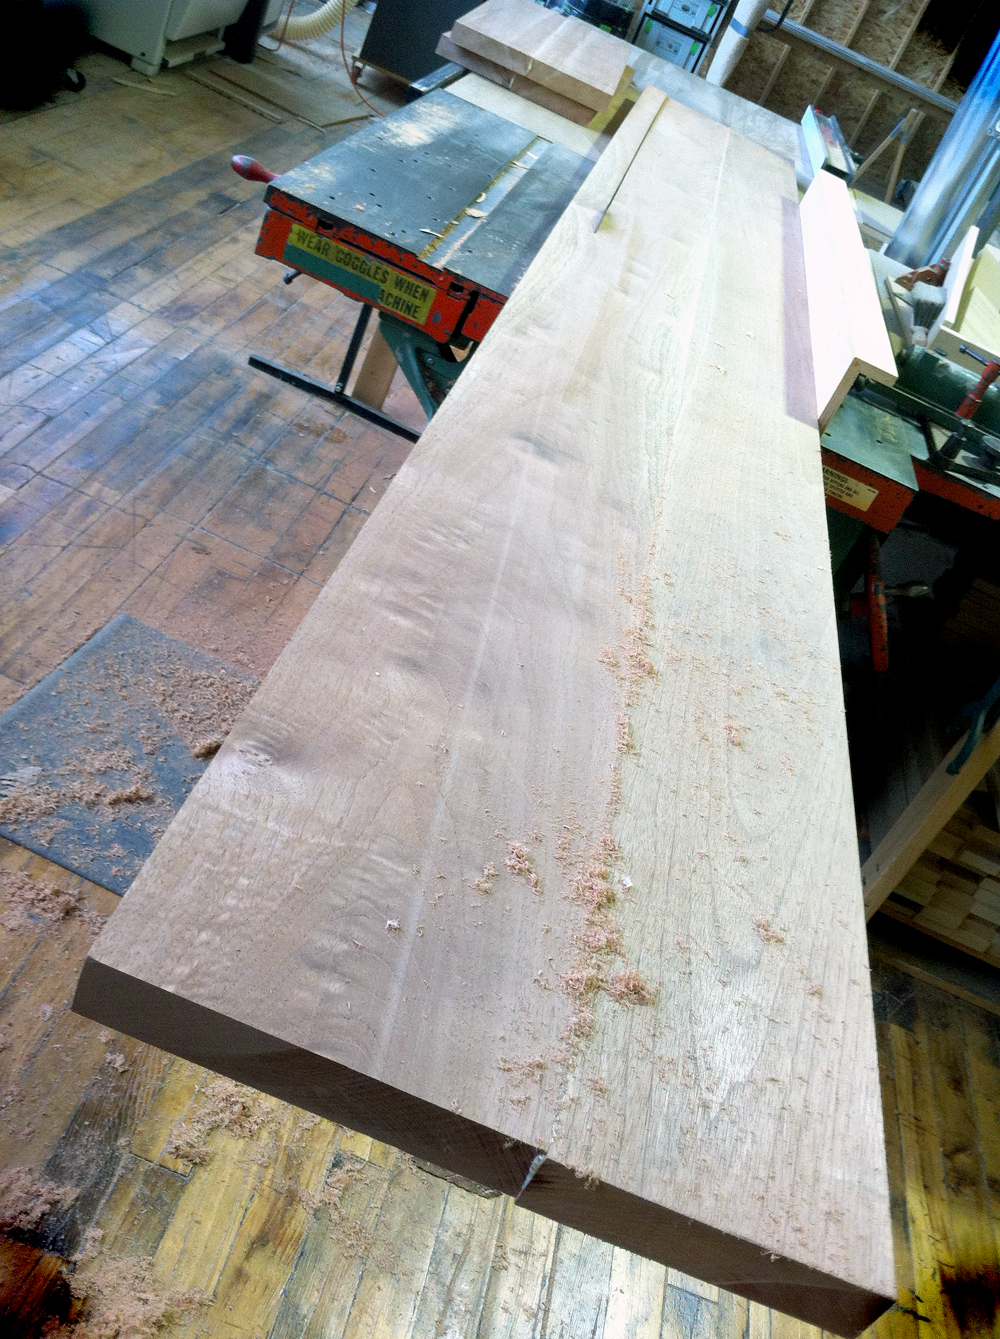
Preparing the sign blank
After the blank was prepared, I printed out some full size letters and used spray adhesive to attach them in just the right spot. Since the sign was going to be painted black, I used some black spray paint to create the negative of the letters. I don’t always take this step. Often I just freehand the lettering but these letters are so tall I took this extra step to speed up the process.
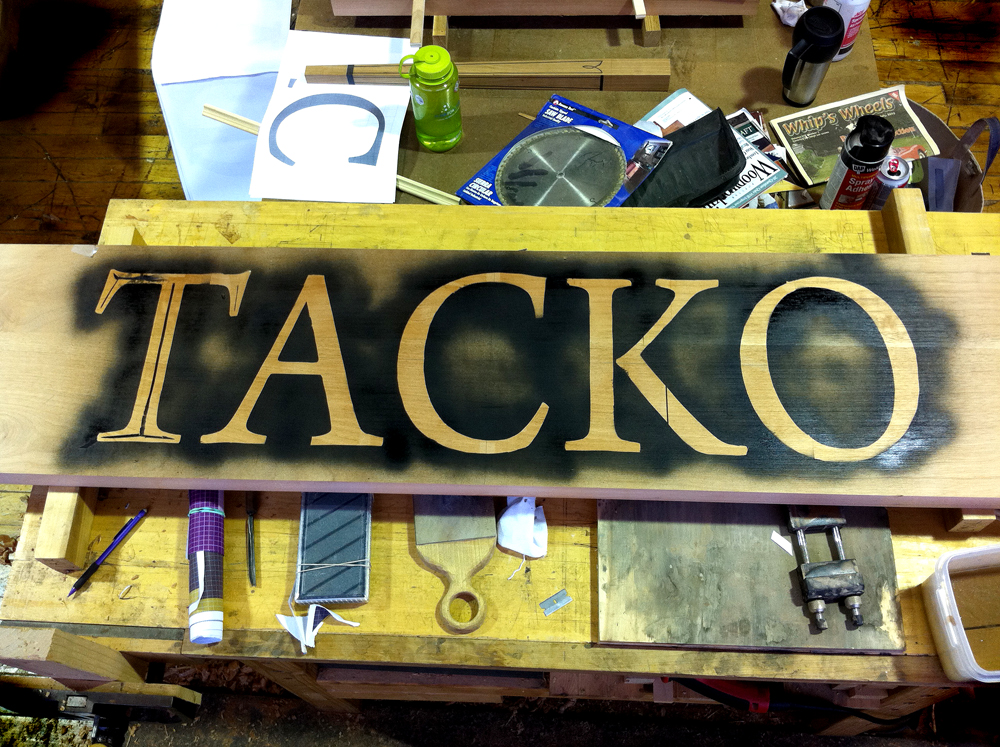
Layout of the sign
In the photo above you can see a printed out letter C and the beginning of the center line layout of letters.
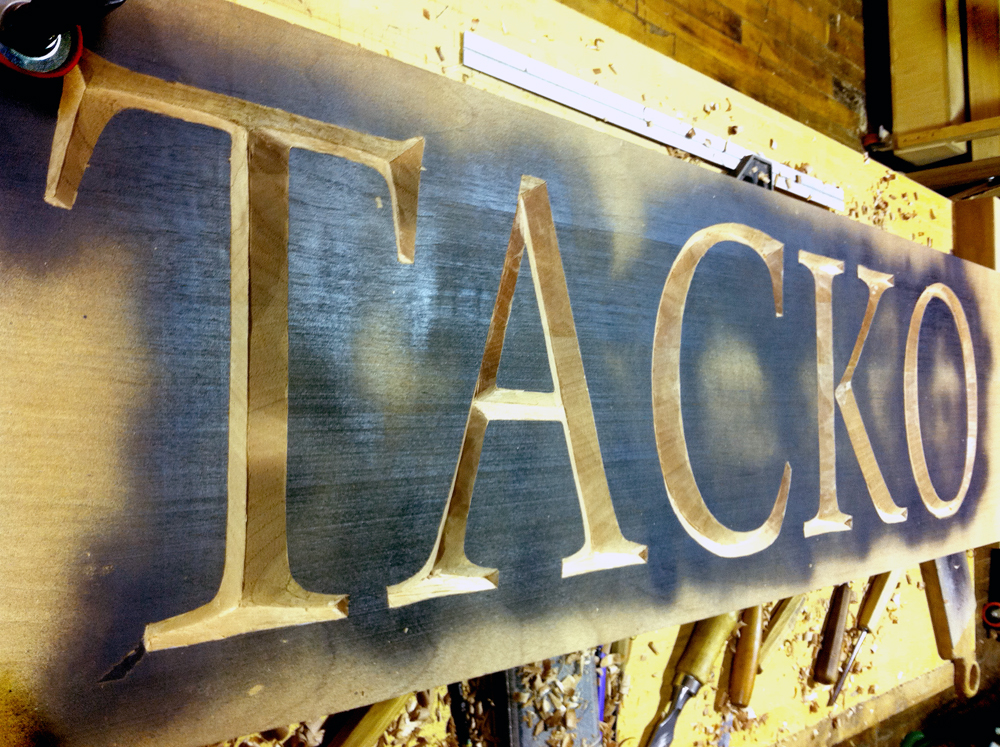
Next, I began carving out the letters. The letters are so tall and the carving ended up so deep that I could not carve it with a single pass. I started with a v-tool to get the basic shape and then switched to a straight chisel to widen and deepen the v-groove in the letters.

Carving mid-stream (Notice the small “compost” sign I also carved)
Shot of the finished sign
After the letter carving was done I carved some traditional name board ends, painted it semi-gloss black, added the gold leaf paint and sourced some invisible french cleat sign brackets from the great vendor Hook & Lattice.
And a few shots of the sign up at Tacko.
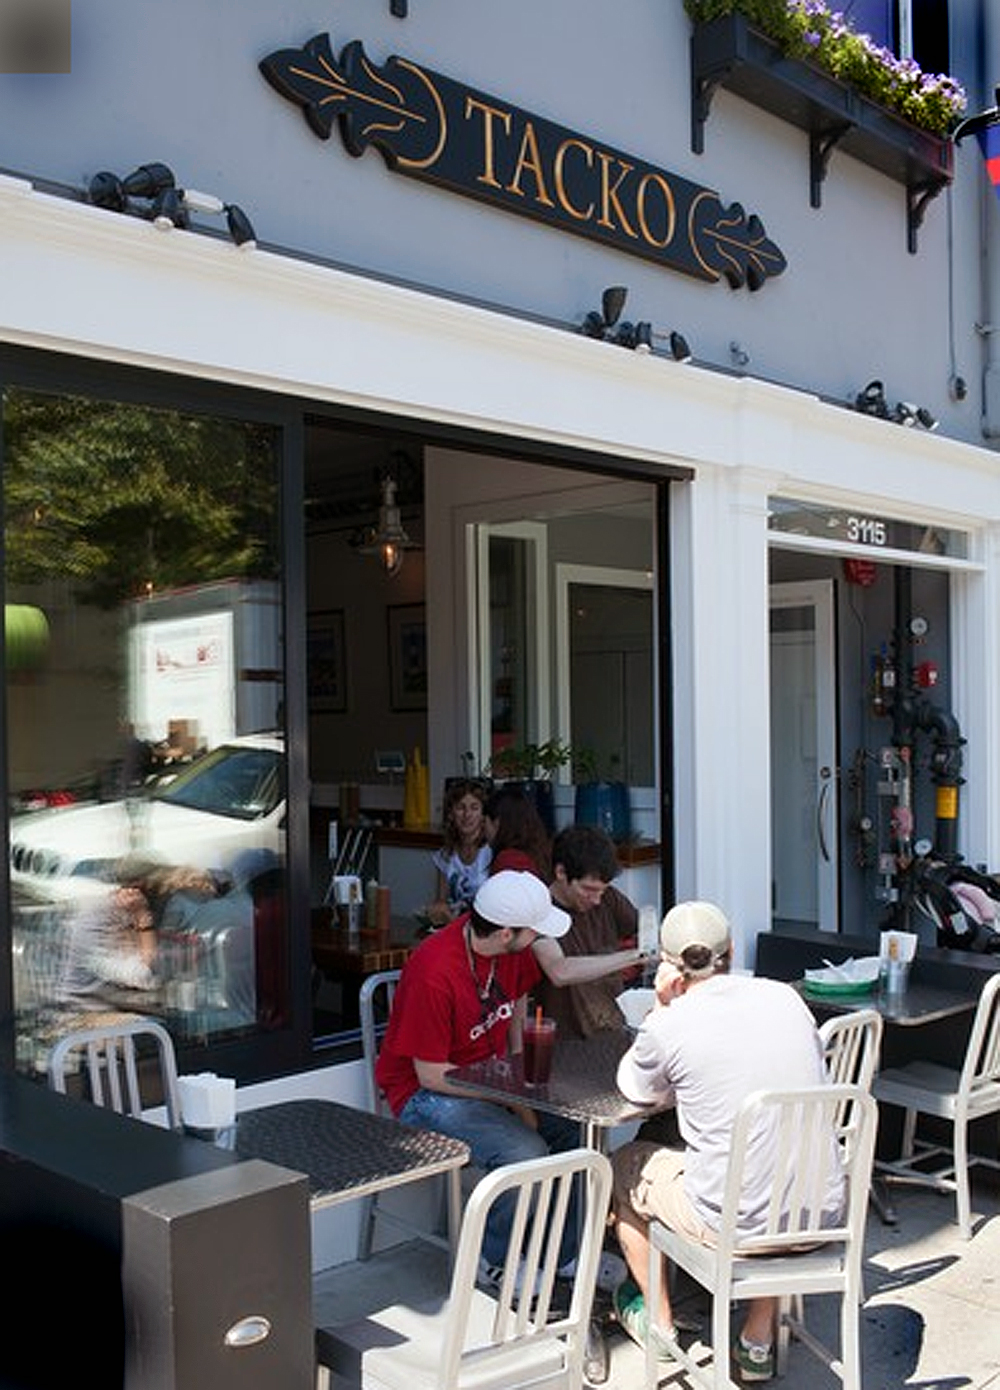
Be sure to visit Tacko when you are in San Francisco or Nick’s other spot, The Taco Shop at Underdogs for some of the best tasting tacos that this East Coast gringo has ever had.
-CB-
Architectural Wood Carvings

Yale’s Sterling Memorial Library
Yale University recently remodeled their iconic Tudor Gothic cathedral to higher learning, the Sterling Memorial Library. As part of the remodel, Yale wanted to recreate the library’s Nave and in the process reconfigure the desk that currently stands as impedance to students accessing the library’s extensive collections.
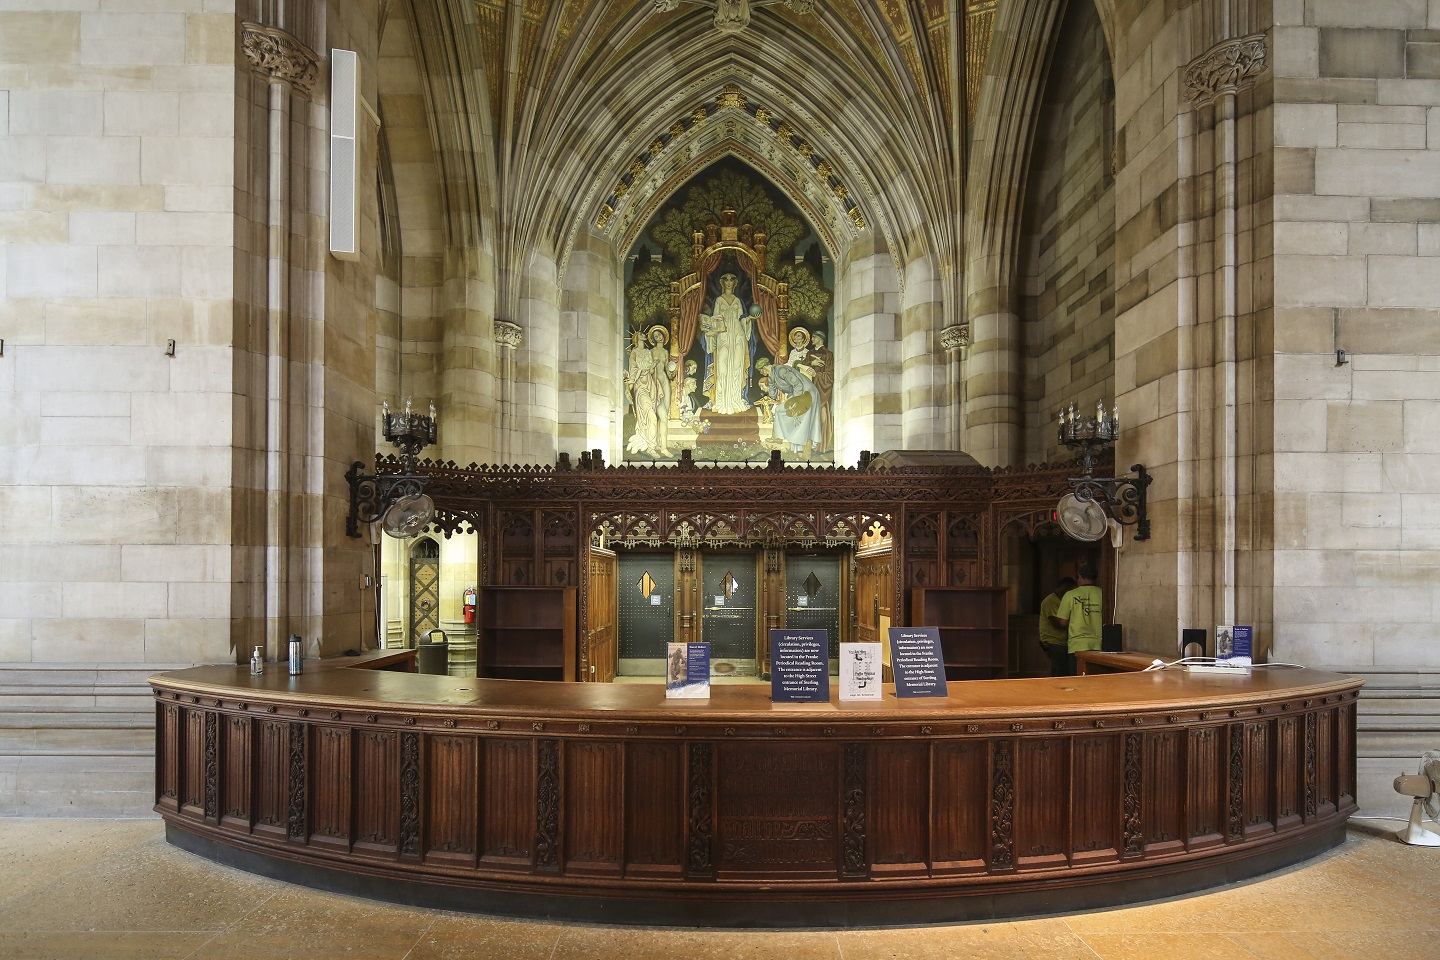
Entrance to the Nave
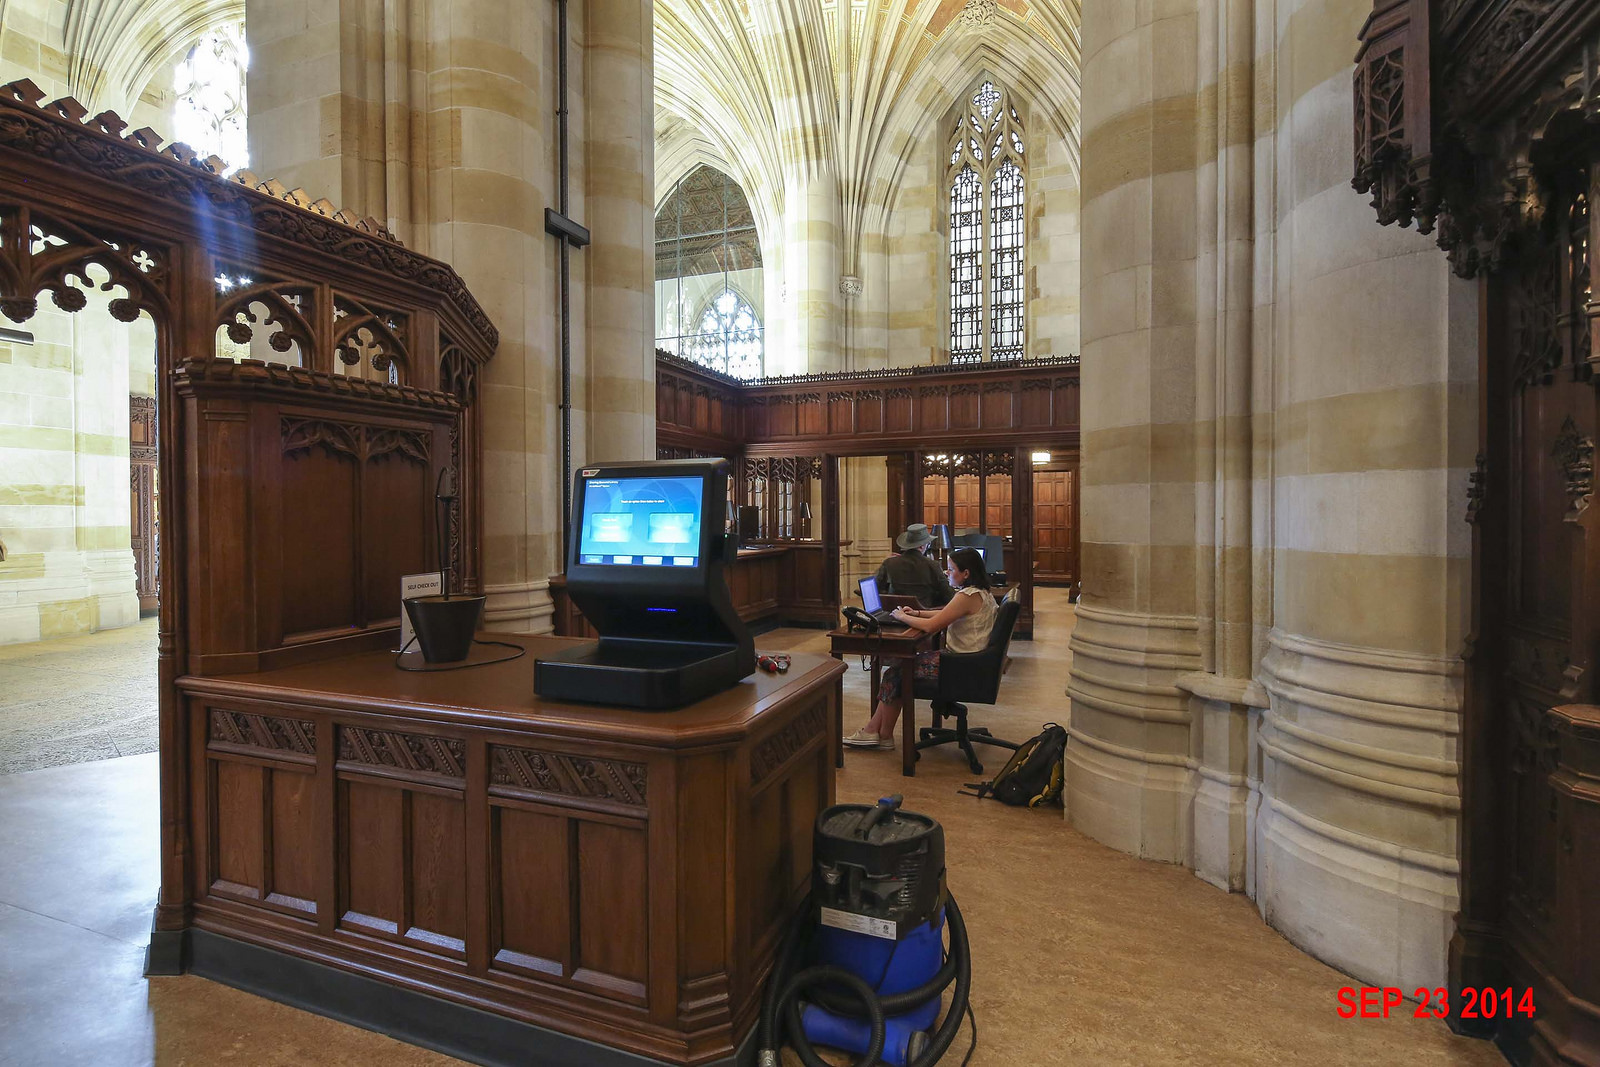
Original desk with panels
Their architect’s, Halpern Architects, planned on restoring, repairing, reusing and, in some cases, recreating some of the Nave’s gorgeous woodcarvings for the remodel.
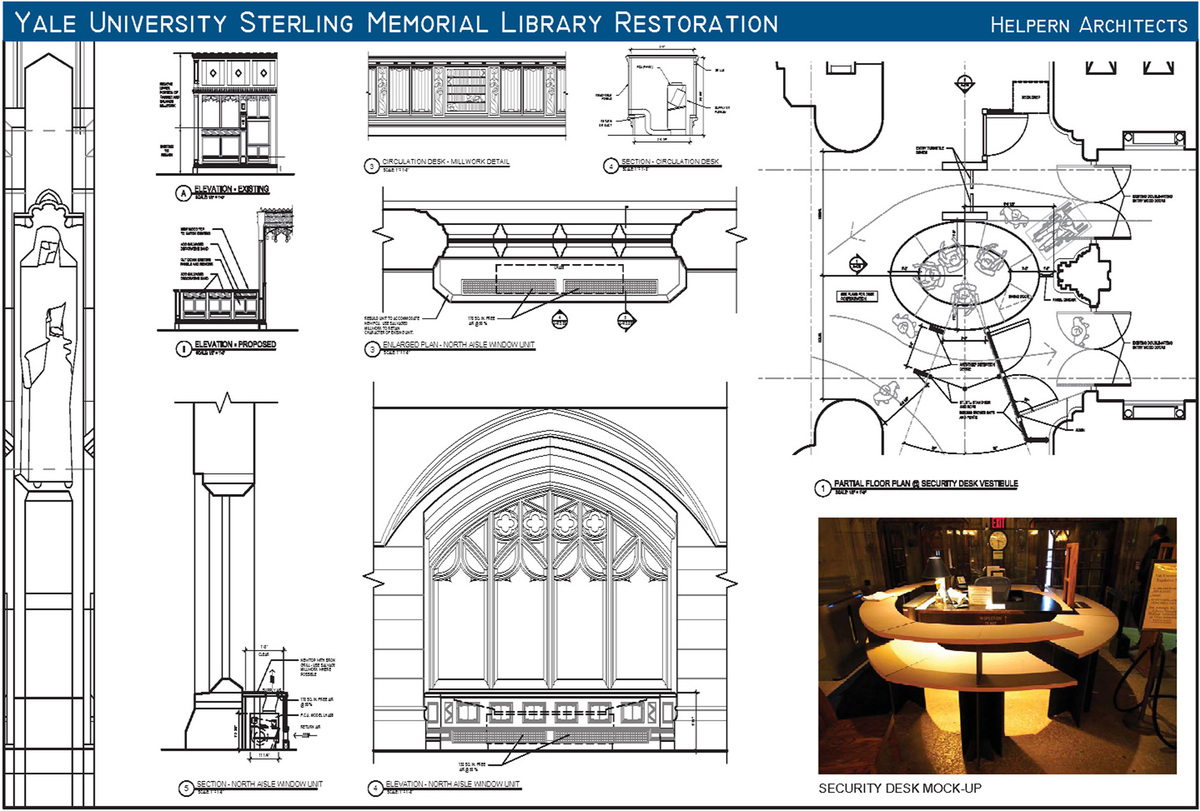
Architect’s Plan
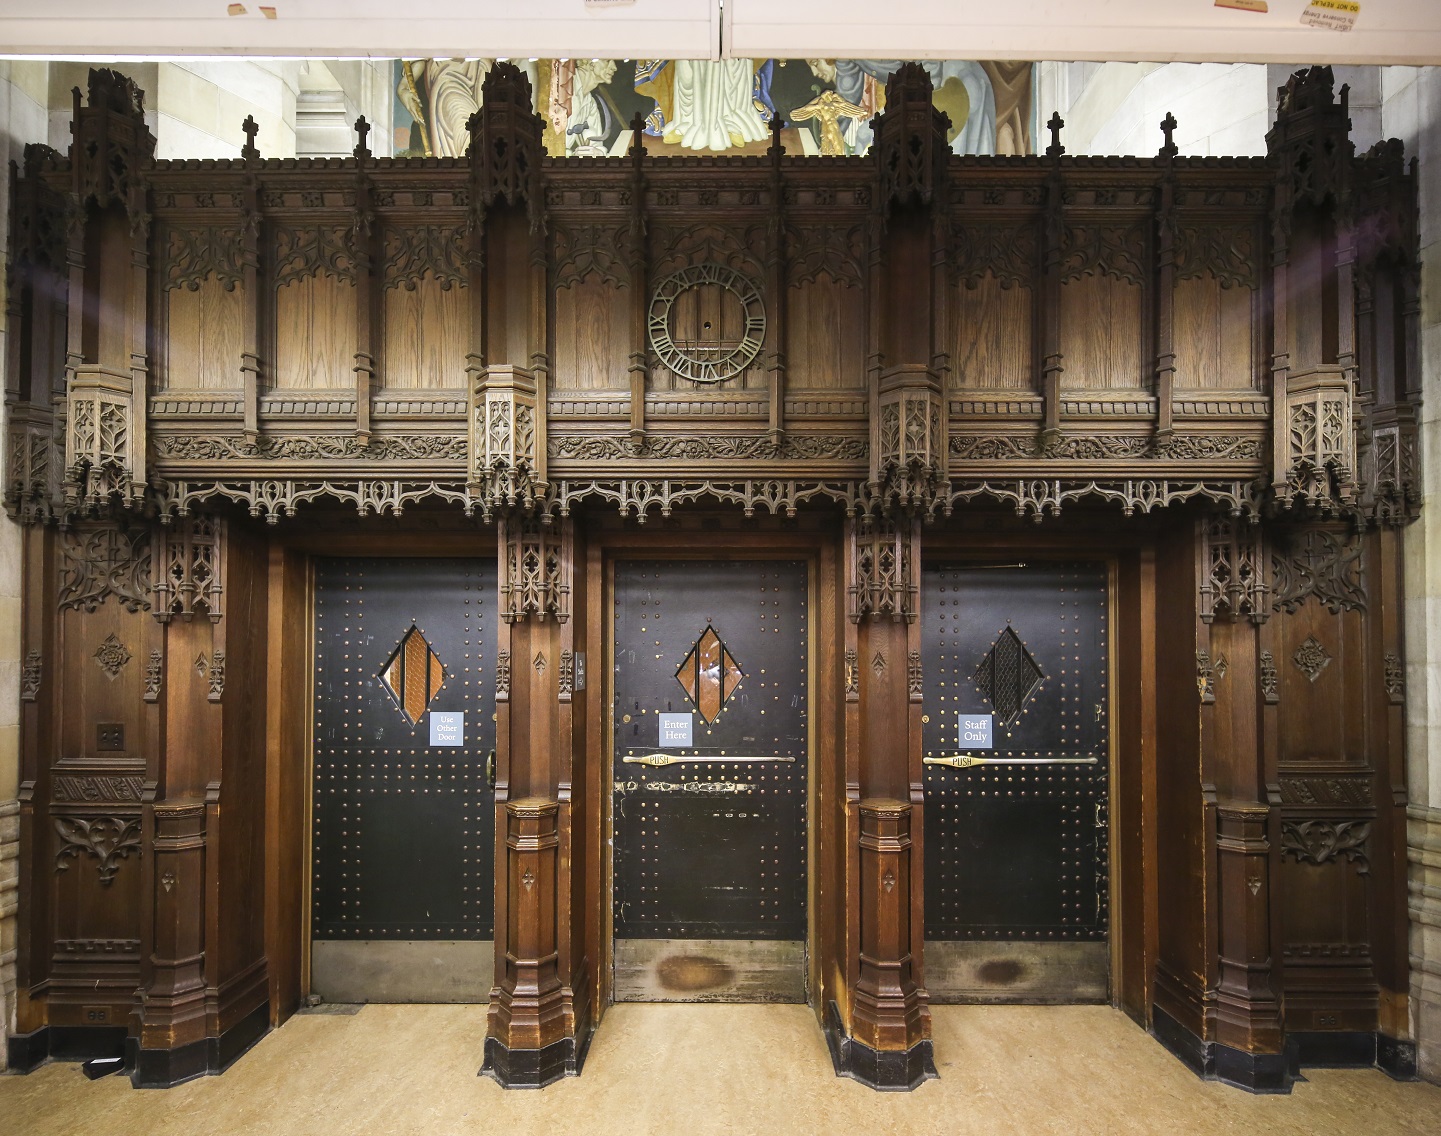
Entrance to the Nave
It was for this last part, recreating, that I was contacted by CW Keller. They wanted me to recreate carved panels and finials that would be added to an expanded reception desk.
Panel after duplicator
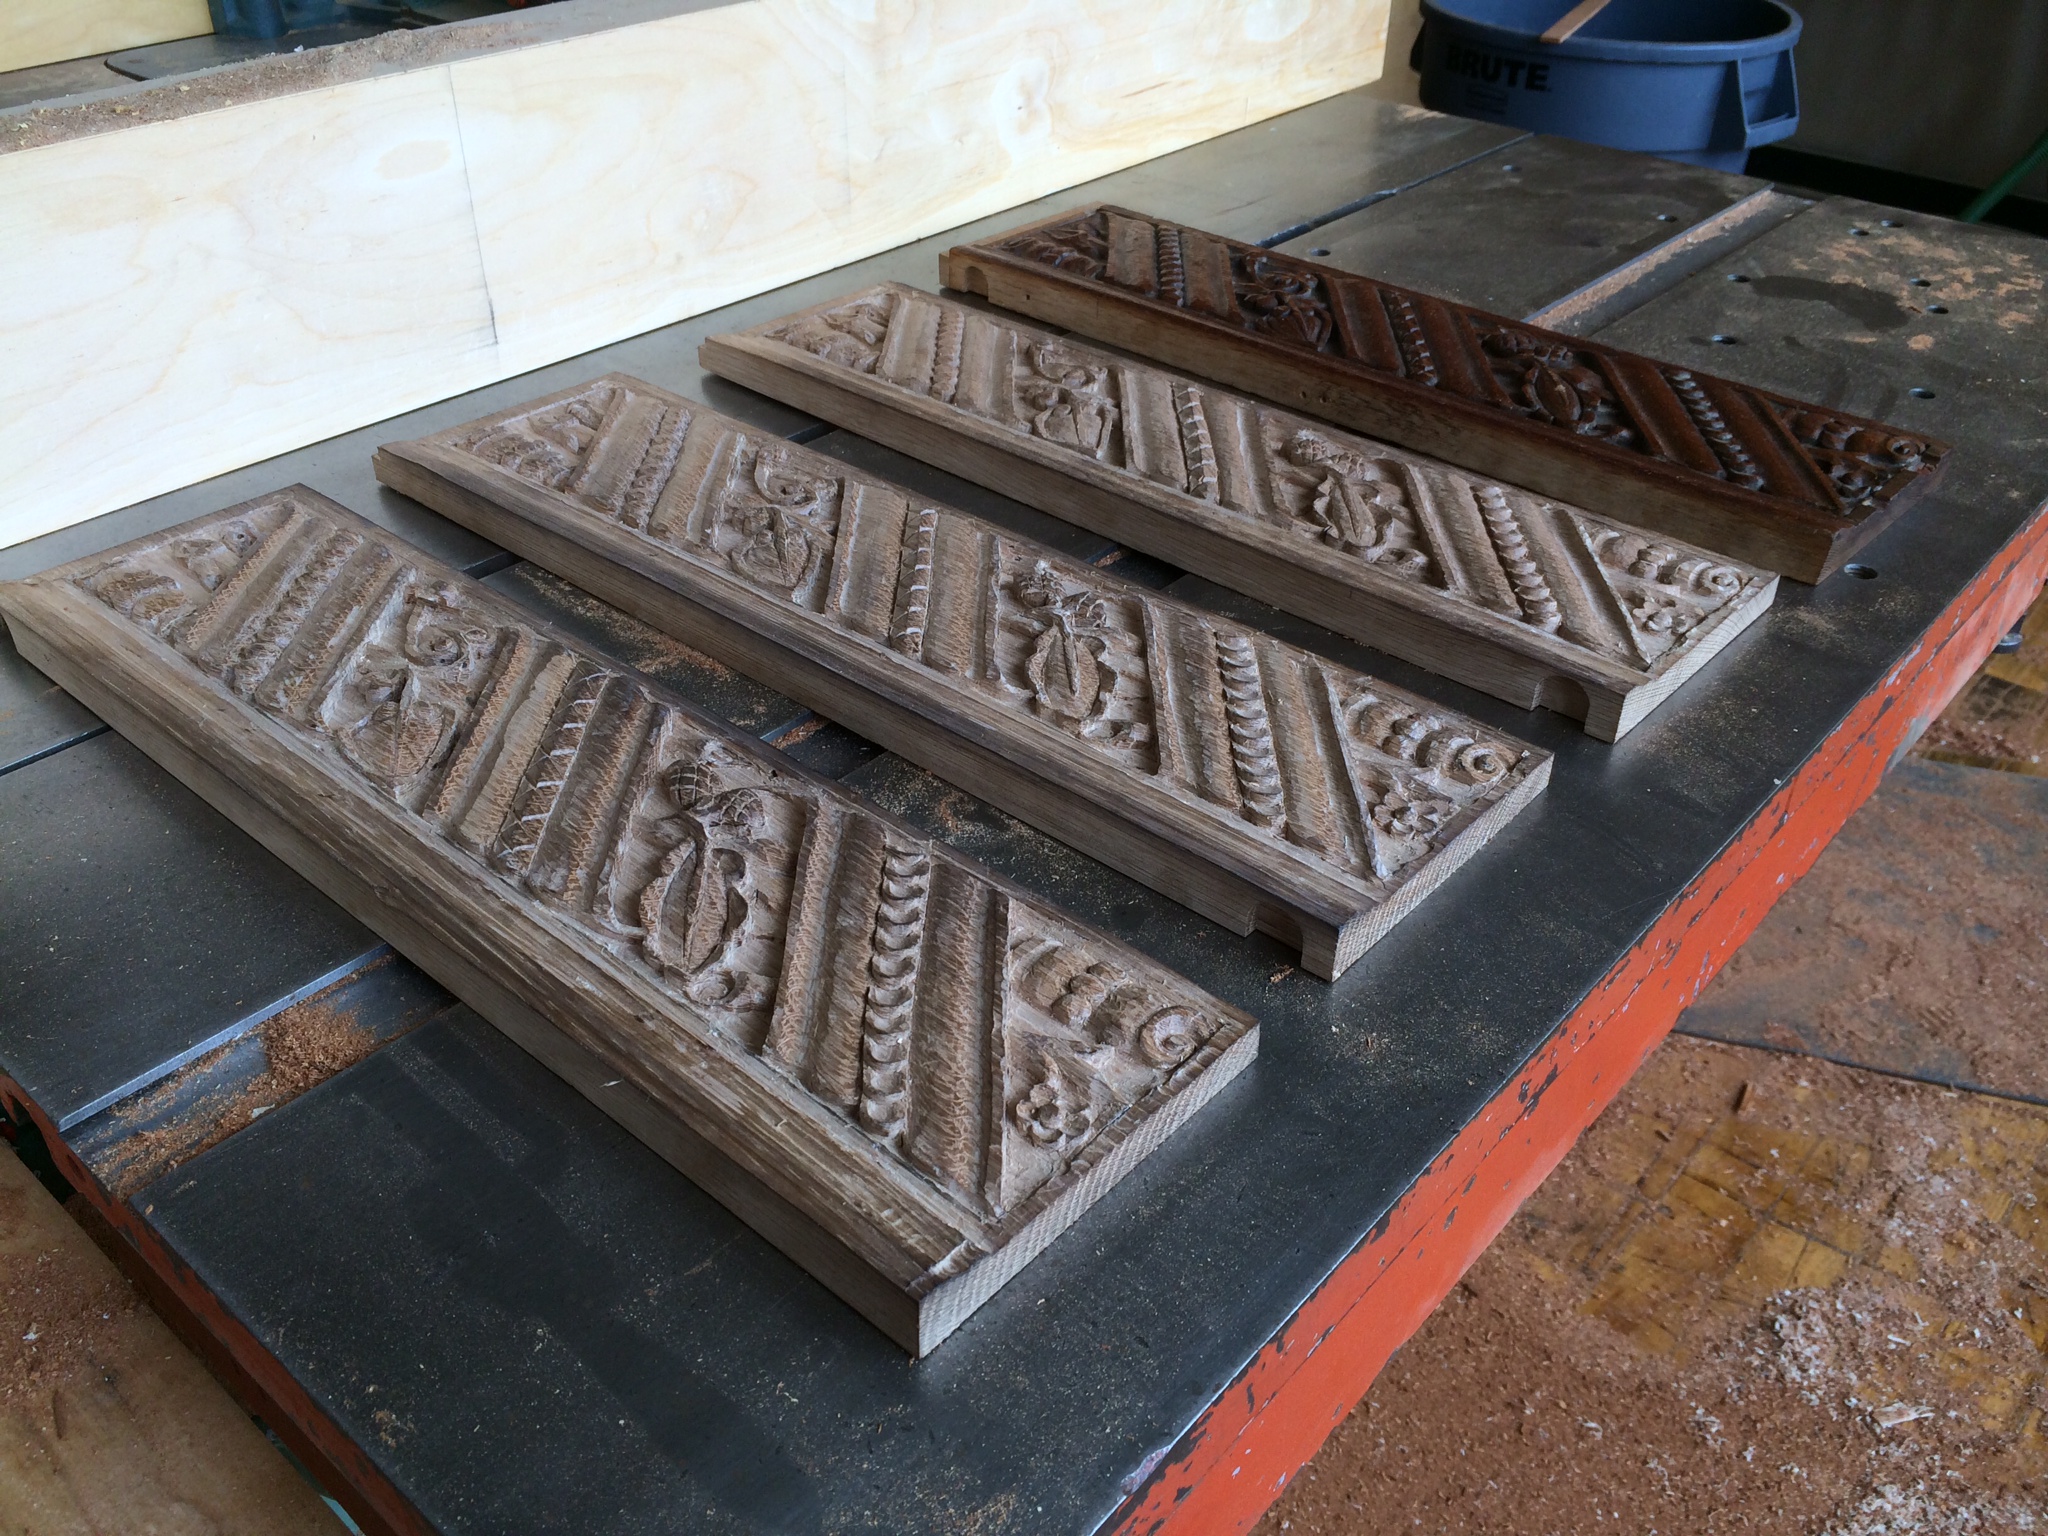
So I sharpened up my carving tools and set to work carving seven identical panels and multiple copies of three different finials. Here are some photos of the nearly completed panels right before the final clean up of the carvings
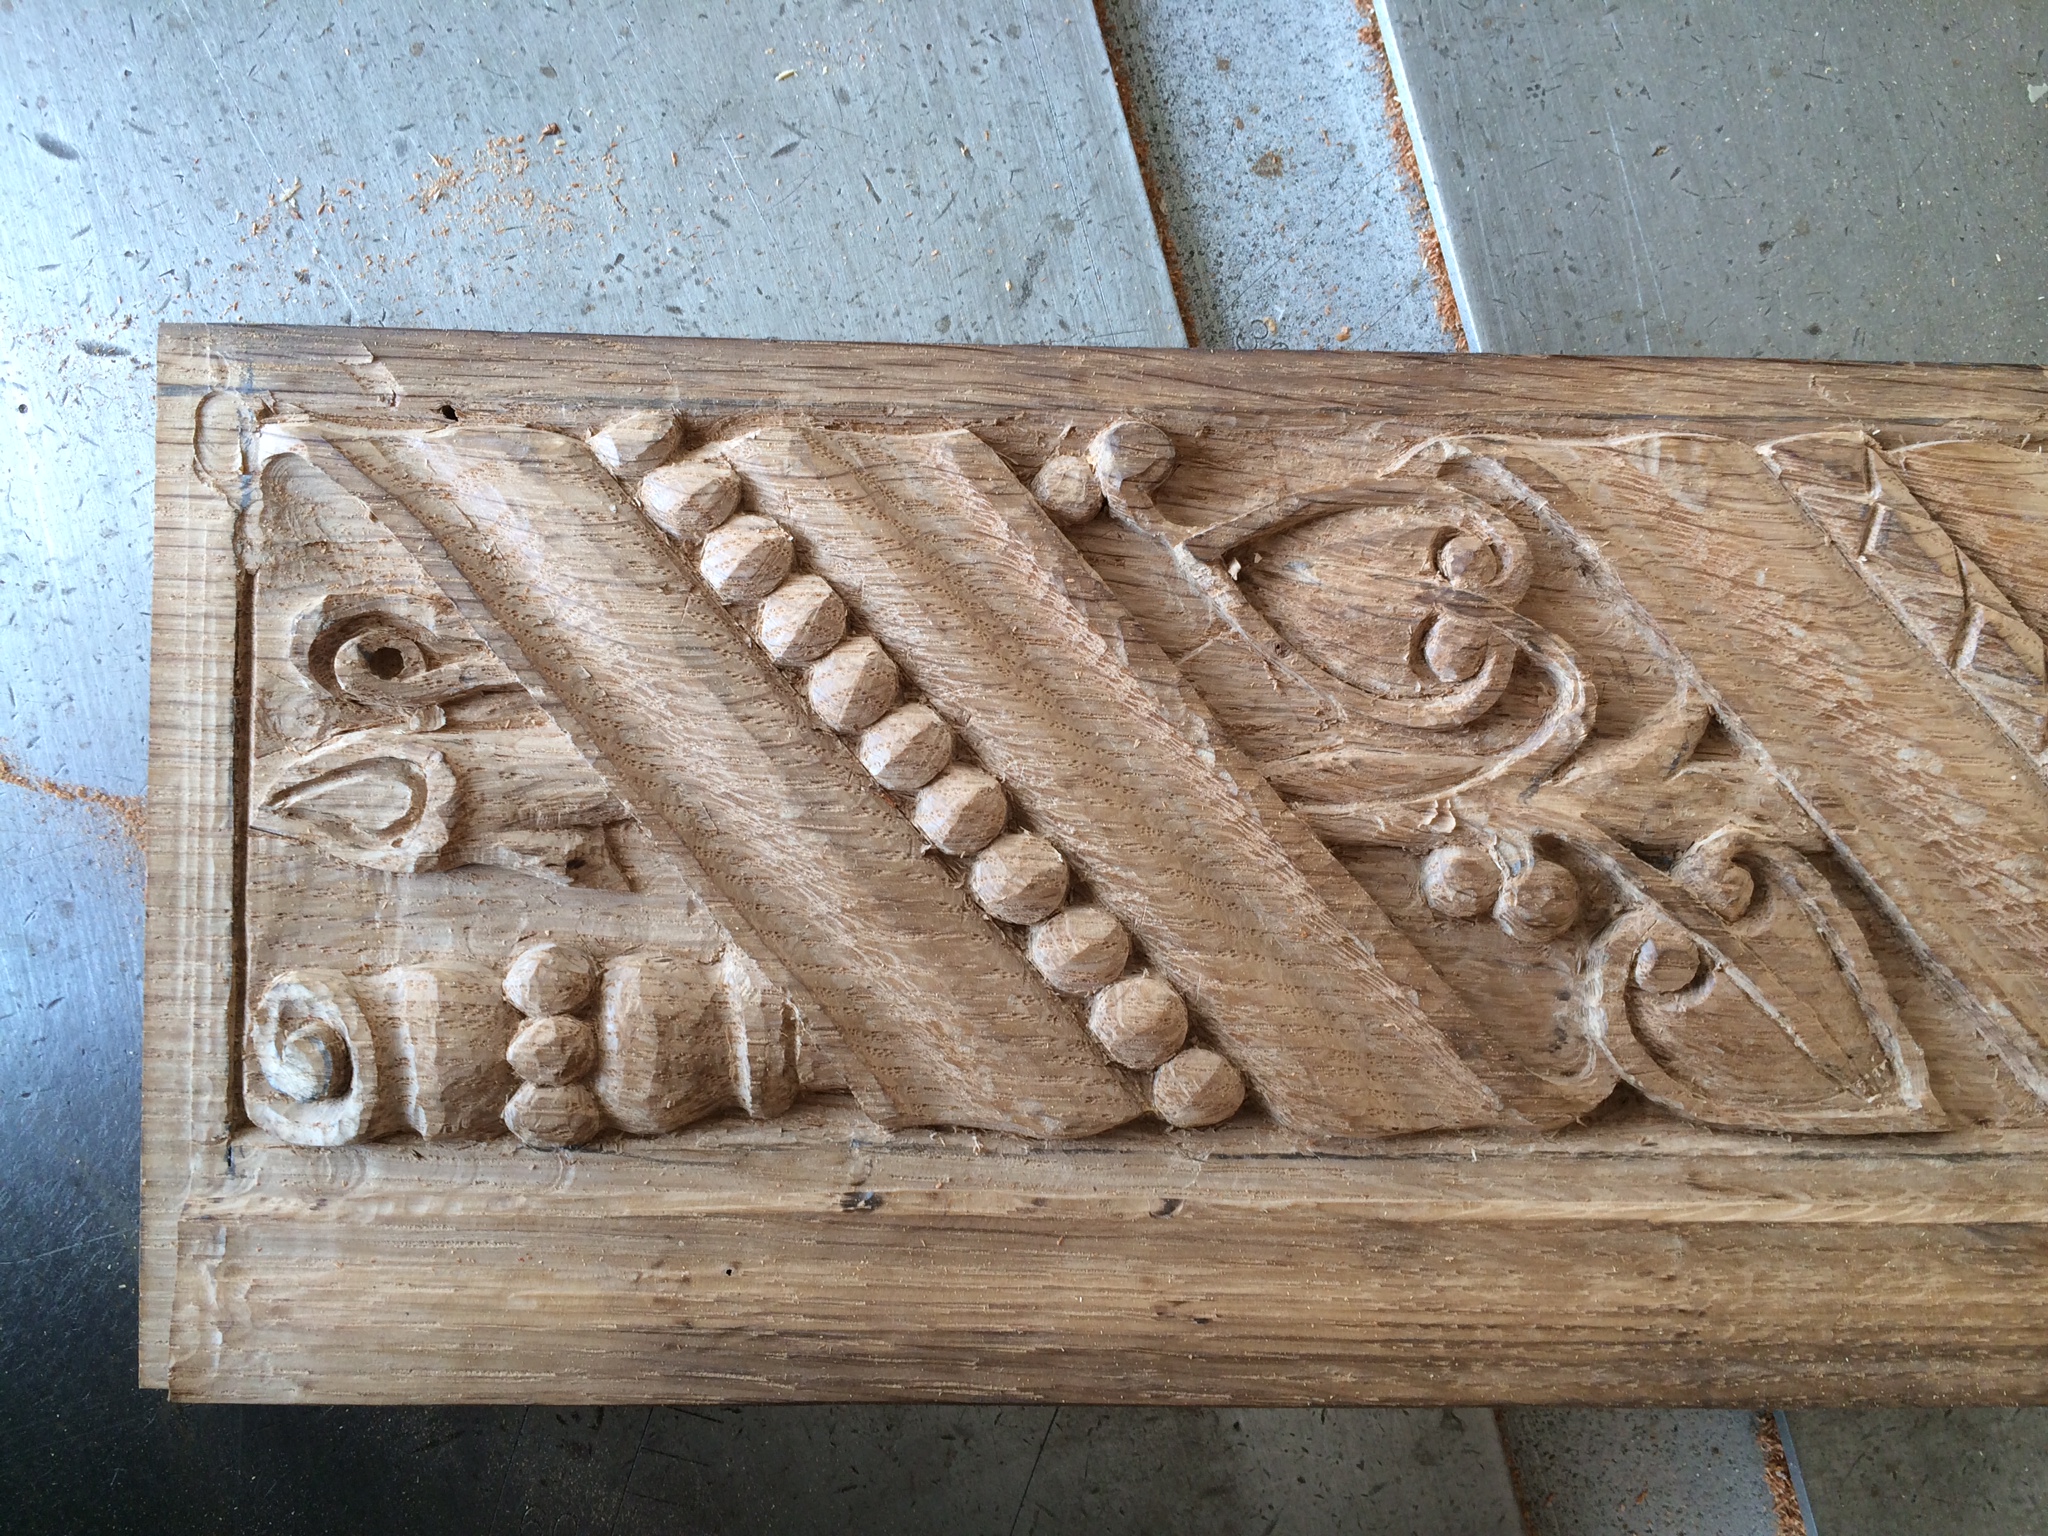
Close-up left
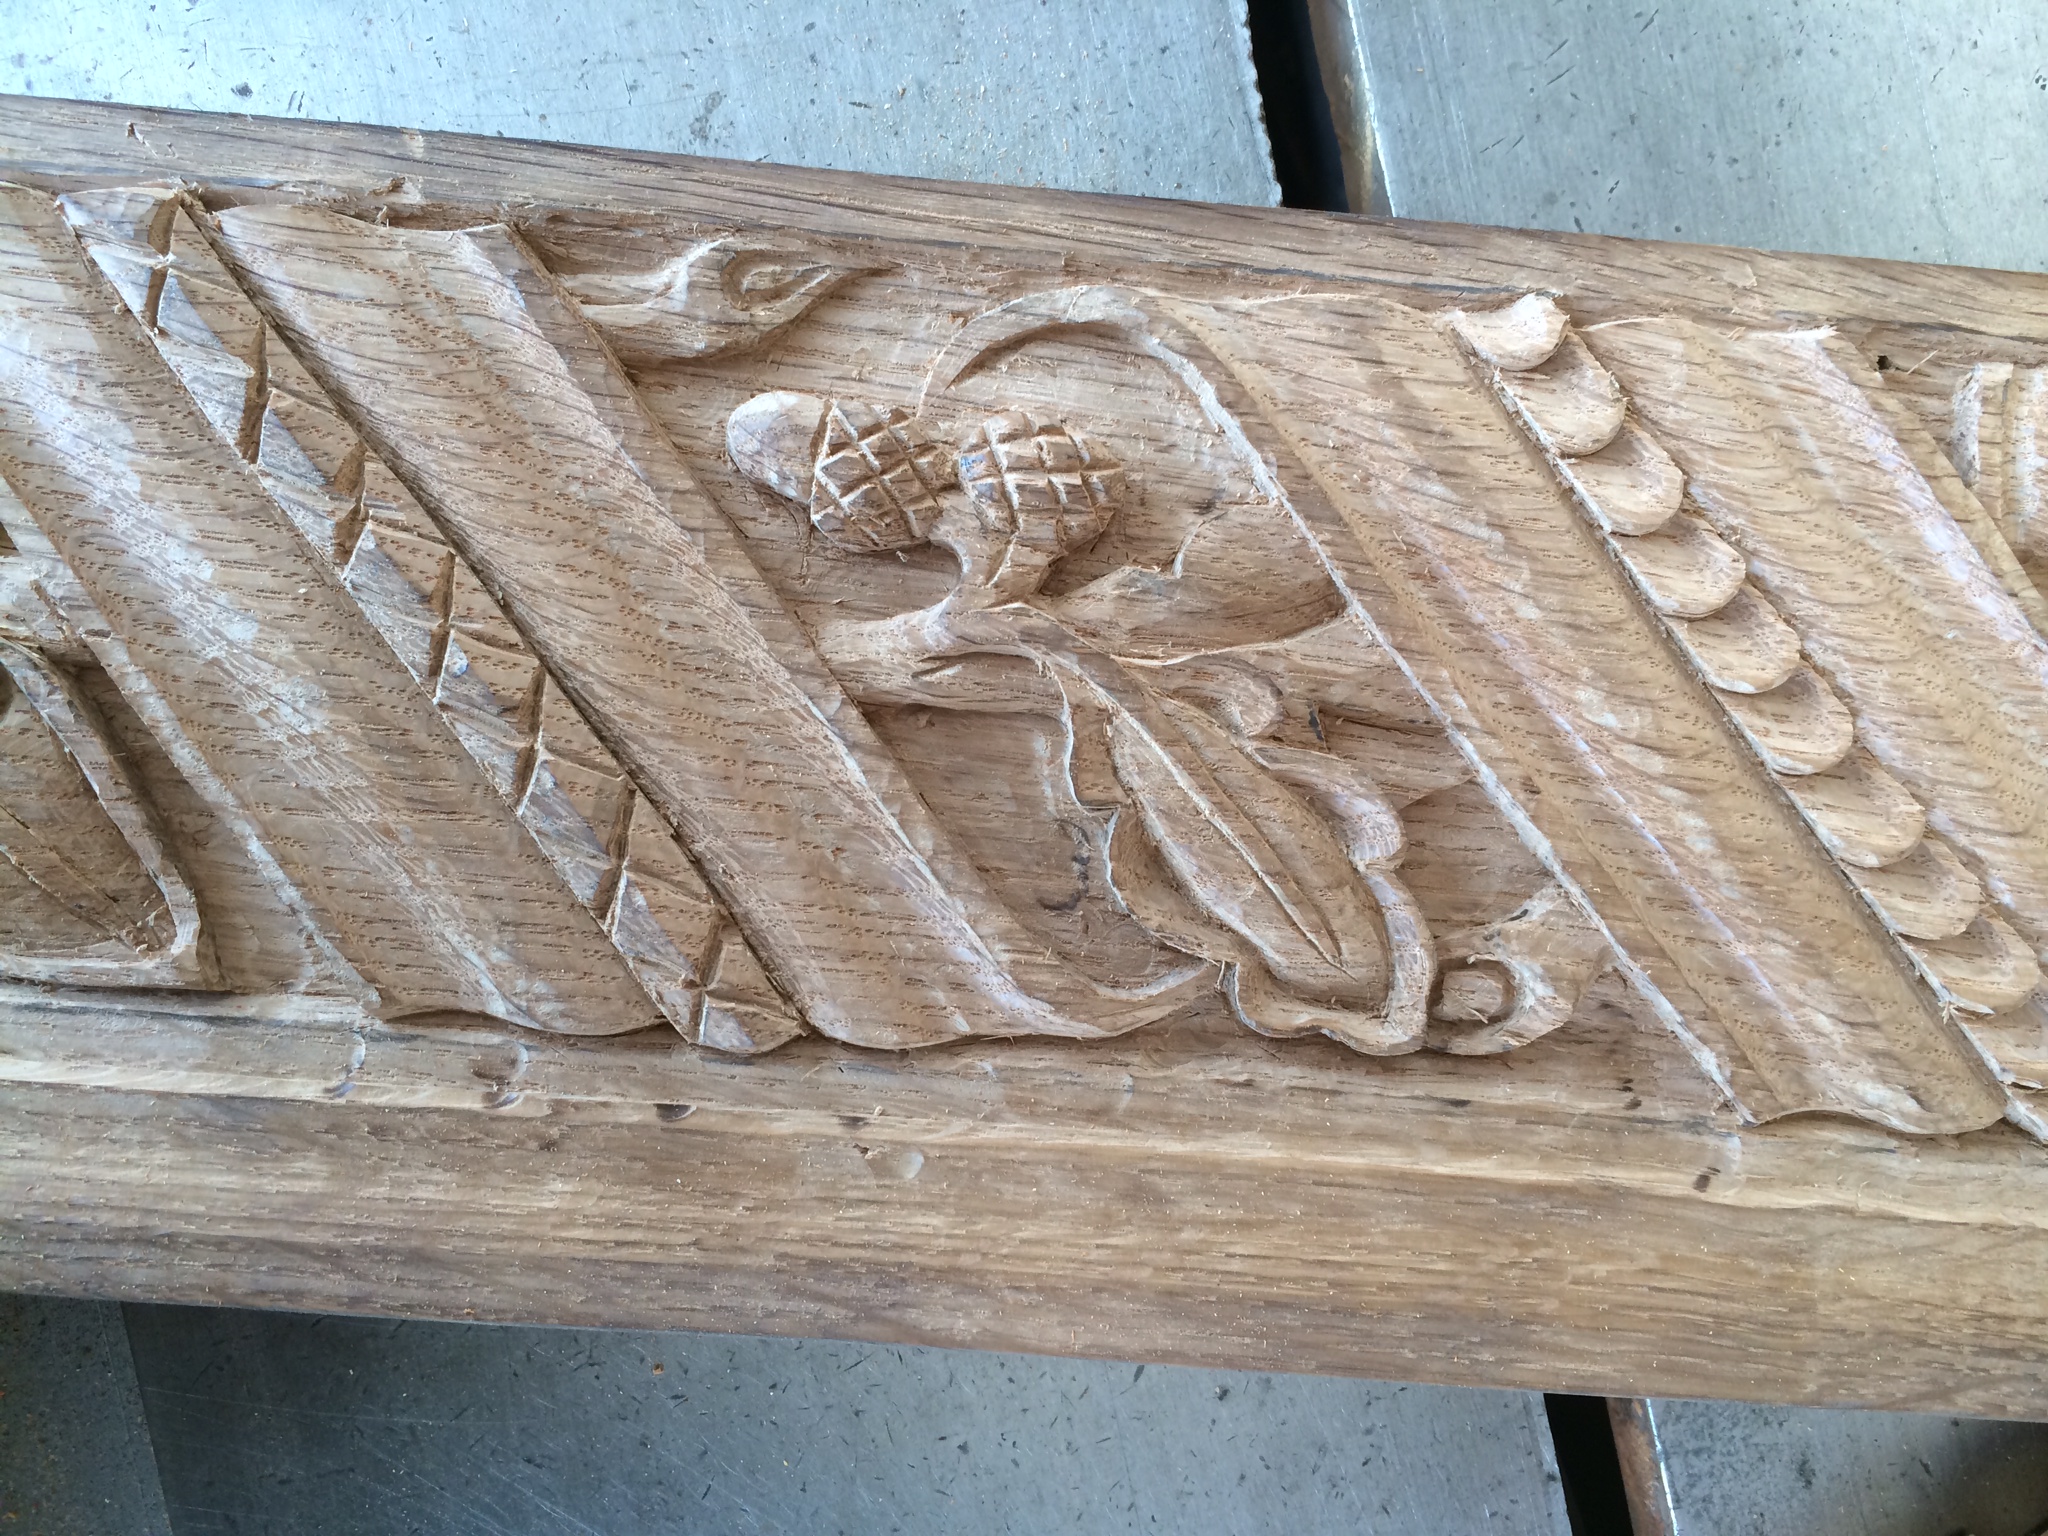
Close-up Middle
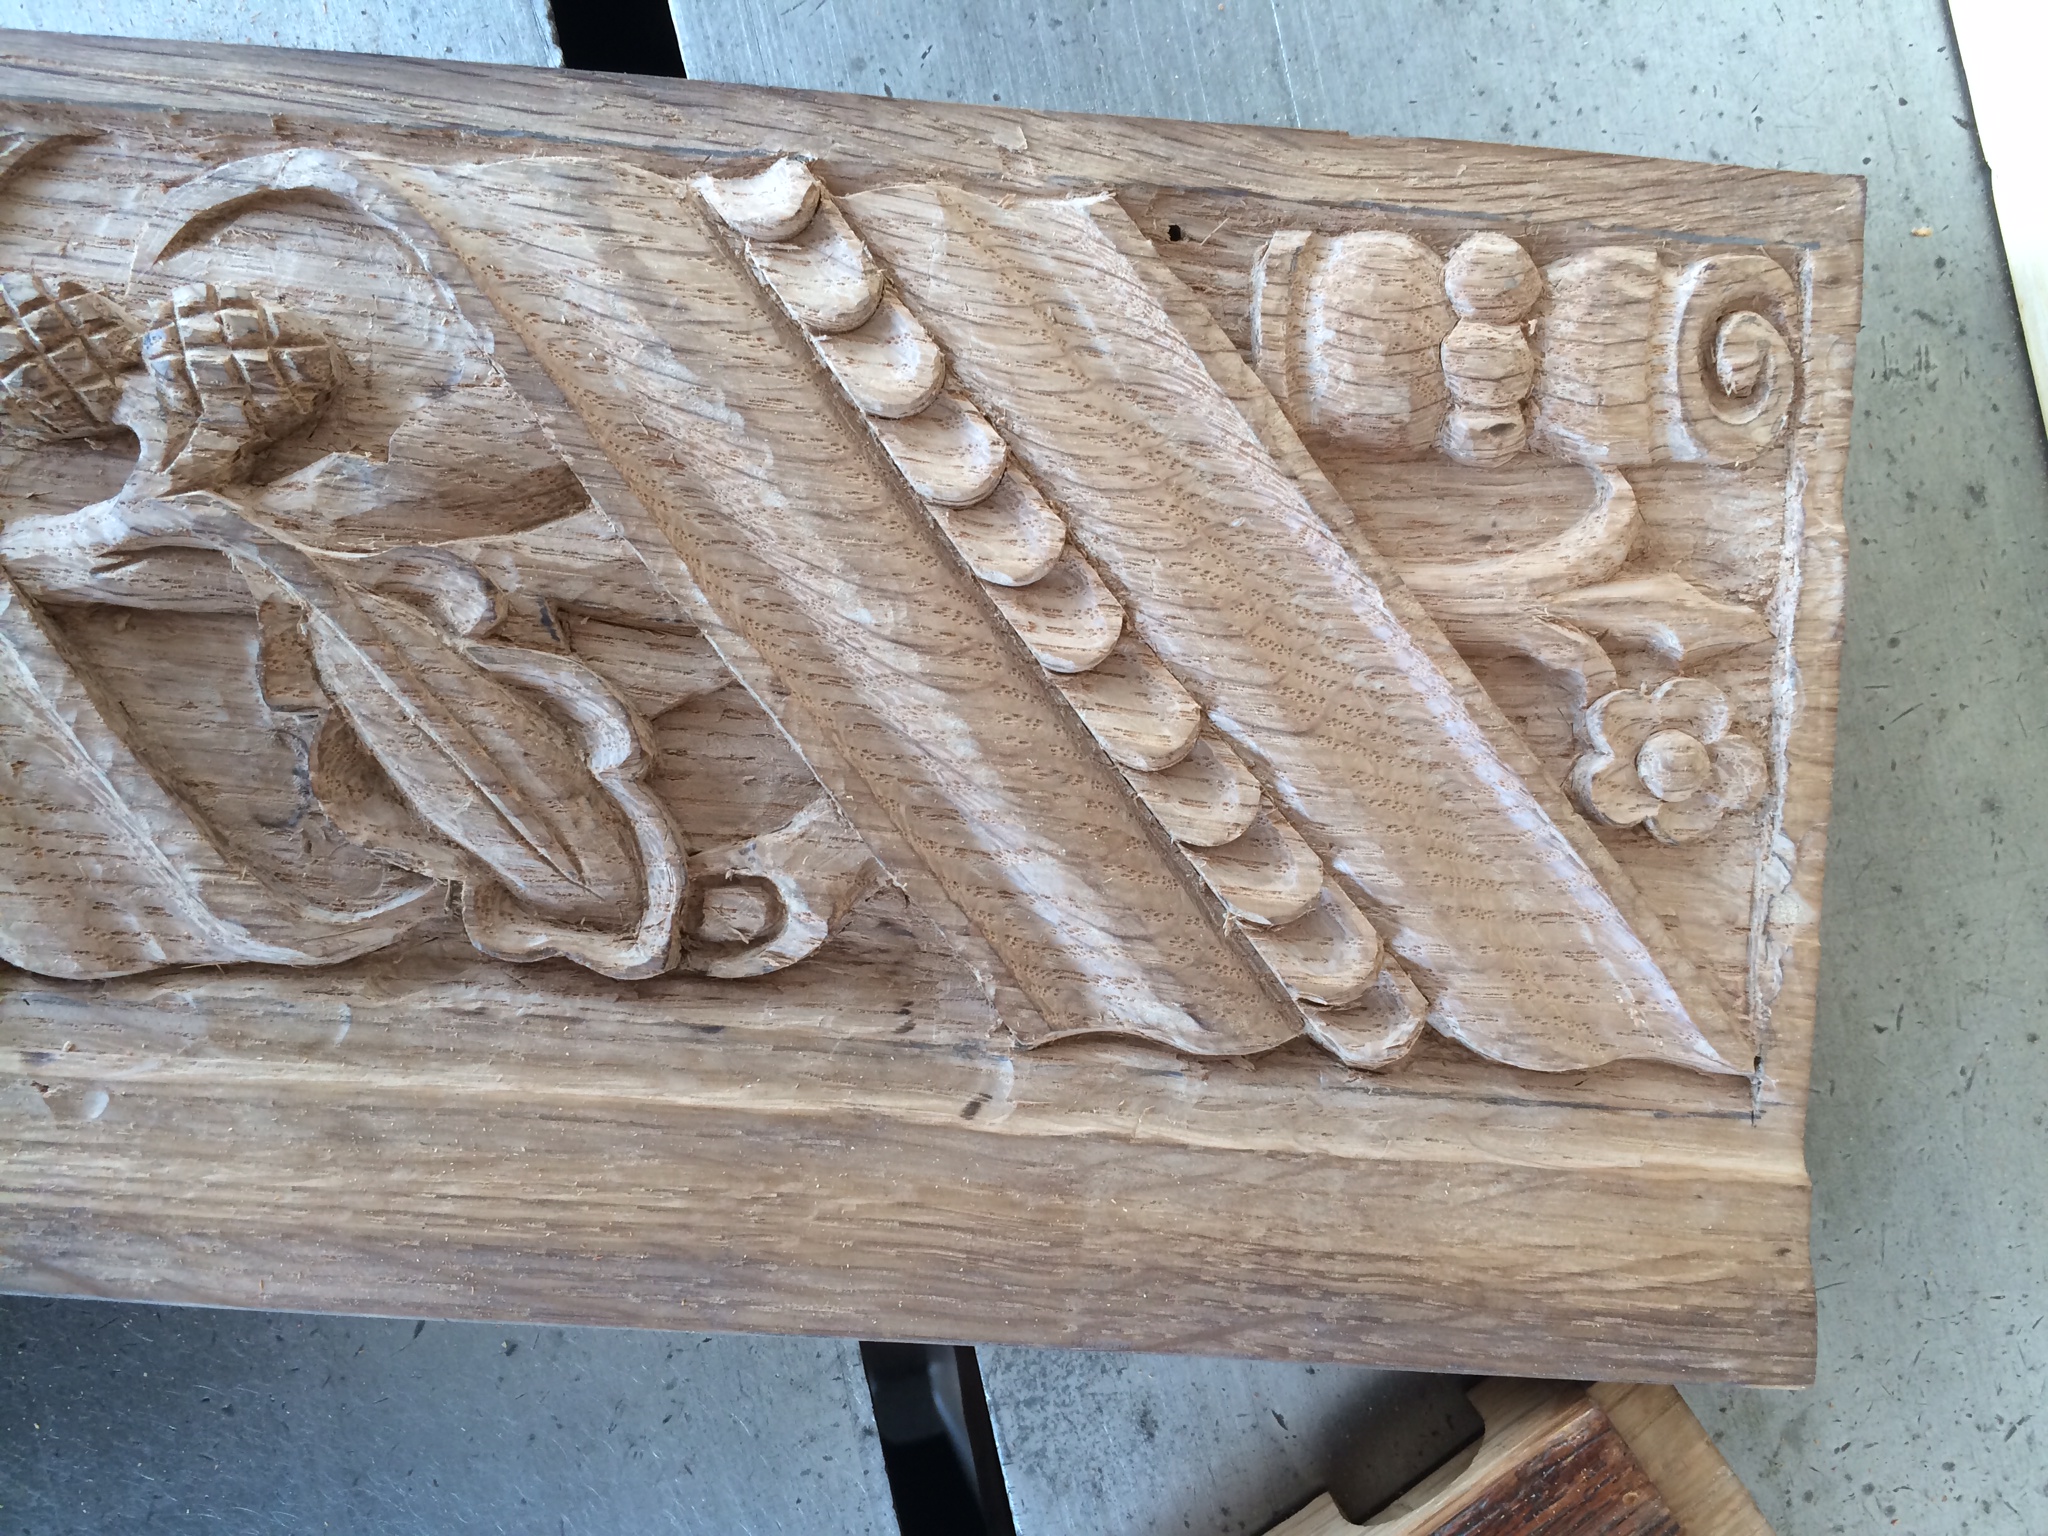
Close-up Right
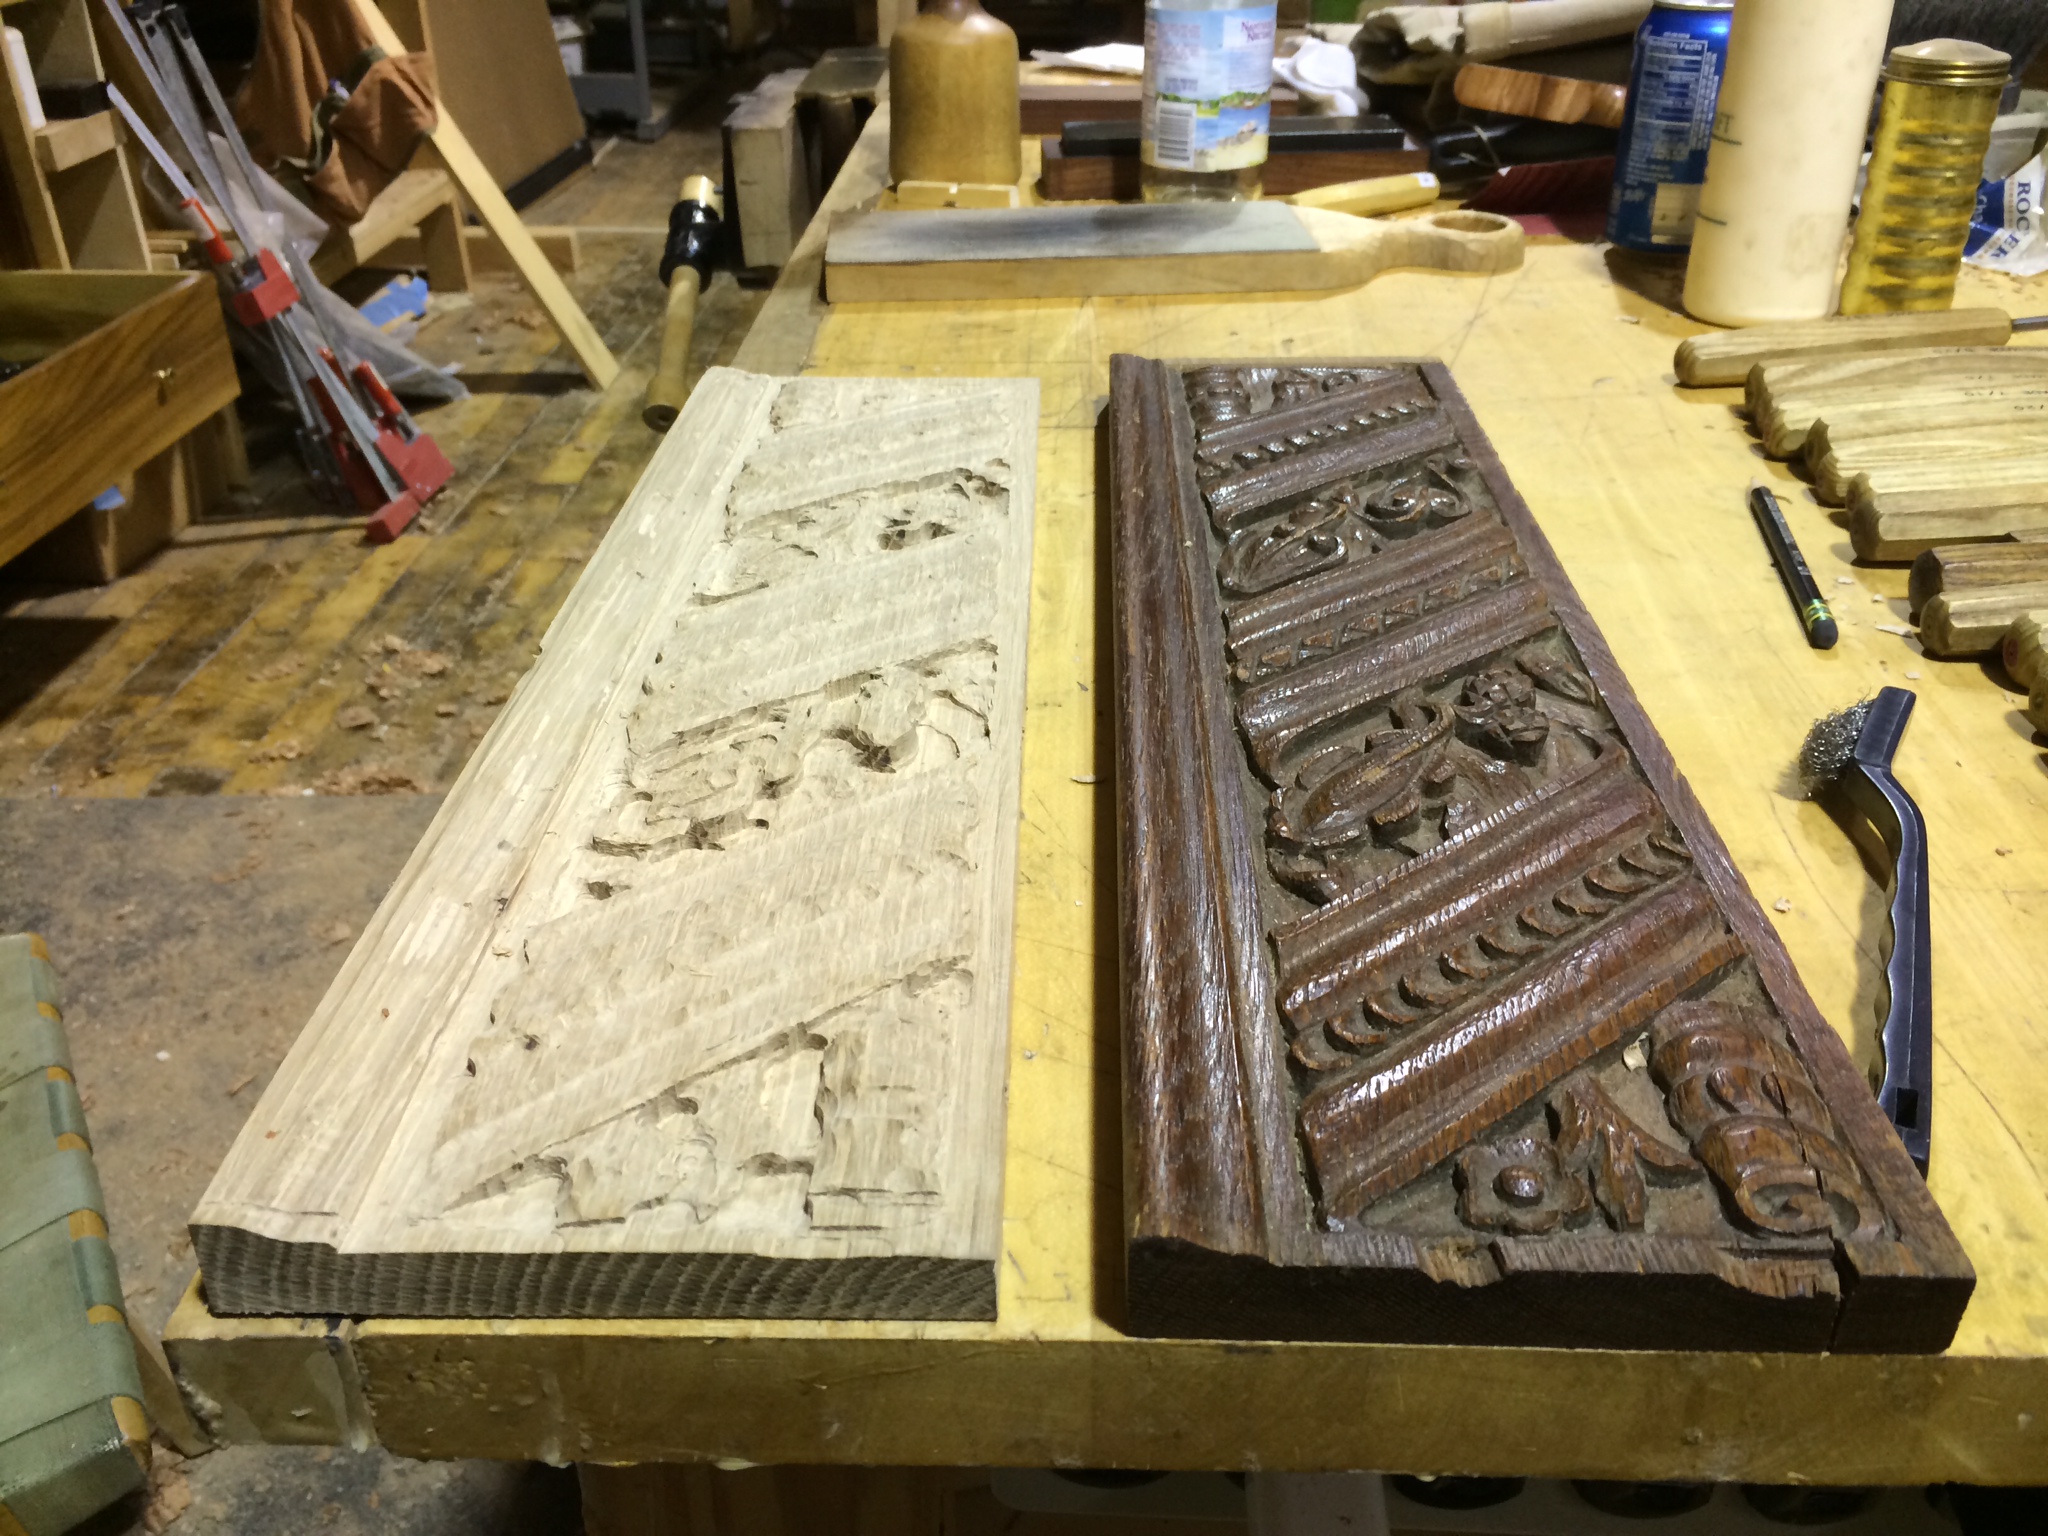
As usual these types of jobs are on a tight timetable, so the work started with a duplicator to get the majority of the waste material out of the way. These panels are quarter-sawn white oak, which is an extremely hard and brittle material and can be challenging to carve.
The trouble with most commercial duplicators is they cannot reproduce the fine details of period carvings. So after the duplicator removed much of the waste, I set to the painstaking work of creating identical copies of the panels and finials.
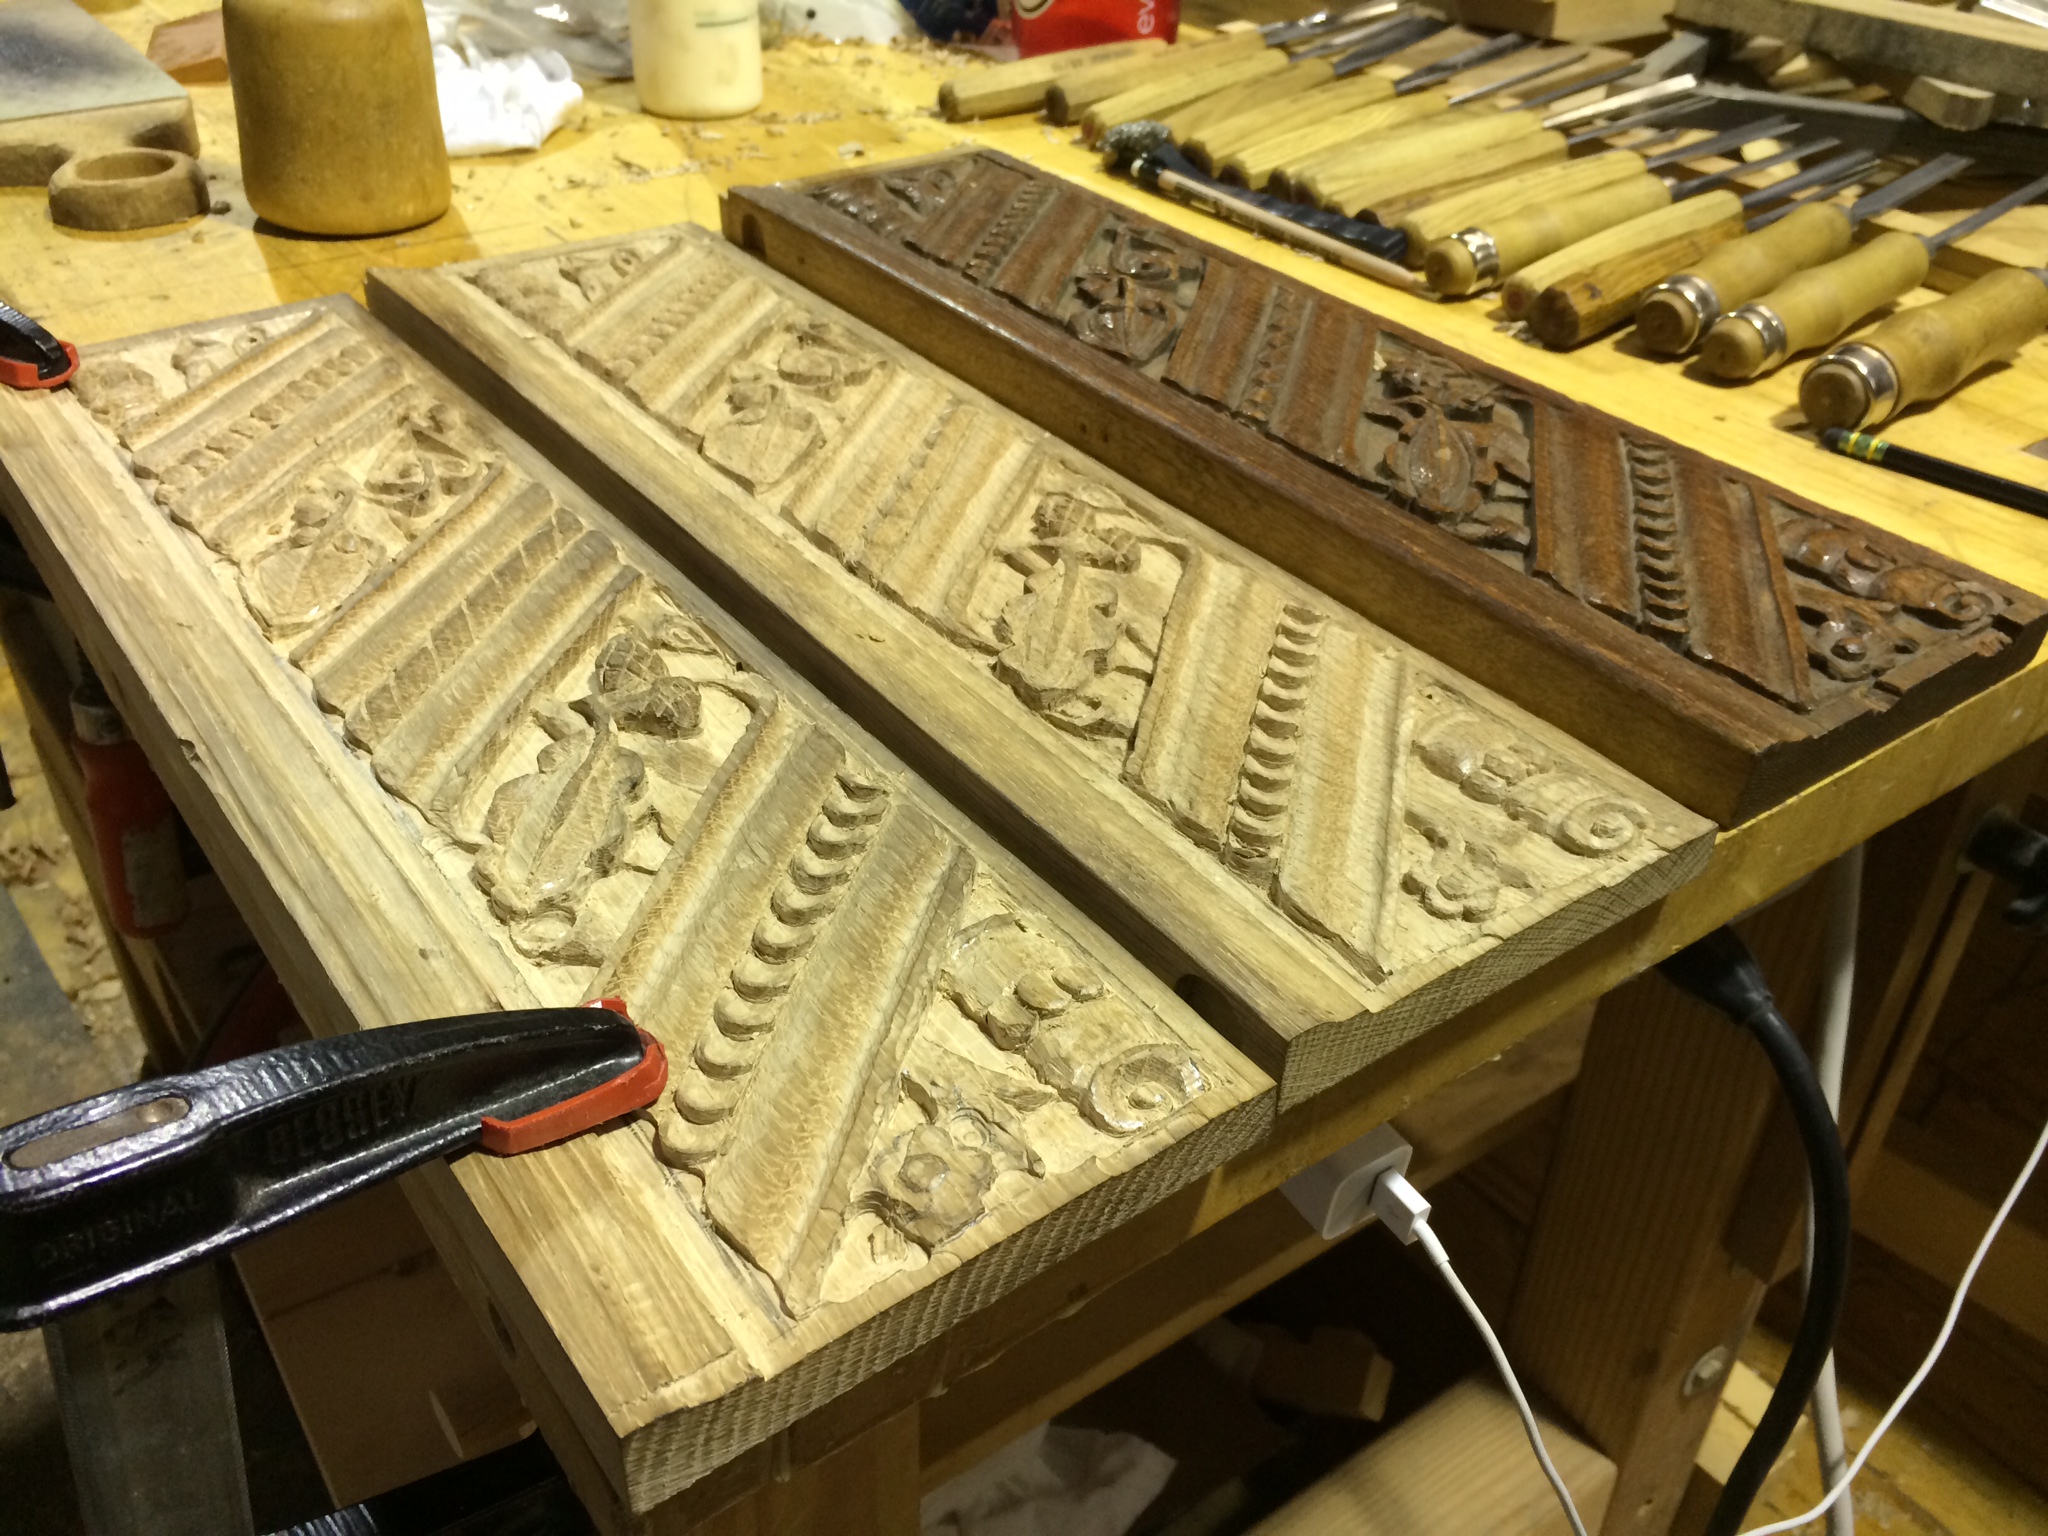
Close up of panels in progress
Three Completed Panels
Look for picture of the completed work soon.
-CB-